You bought your Westlake home for light, volume, and presence. Those broad walls and soaring windows deserve artwork that looks intentional and lasts. If you want a gallery-level feel without risking your collection or limiting future resale, a curated approach makes all the difference. In this guide, you’ll learn how to compose rooms for impact, protect pieces from Texas sun, light them for photography, and stage with a collector’s eye. Let’s dive in.
Why curation matters in Westlake
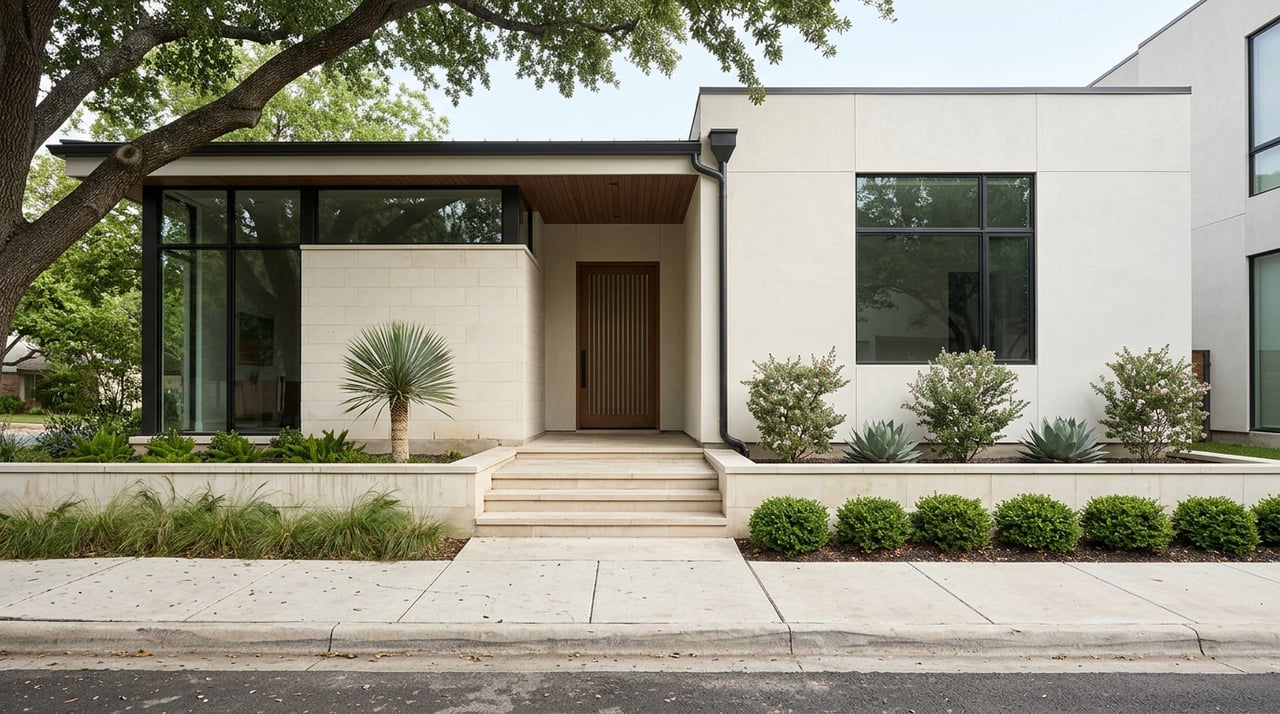
Westlake’s luxury market is small, design-forward, and expectations are high. Buyers browsing neighborhoods like Vaquero and other estate communities expect considered interiors, strong photography, and finishes that feel custom. A curated art plan helps your home read as refined while protecting long-term value. You can review local market context in the Westlake housing overview to understand why presentation is pivotal.
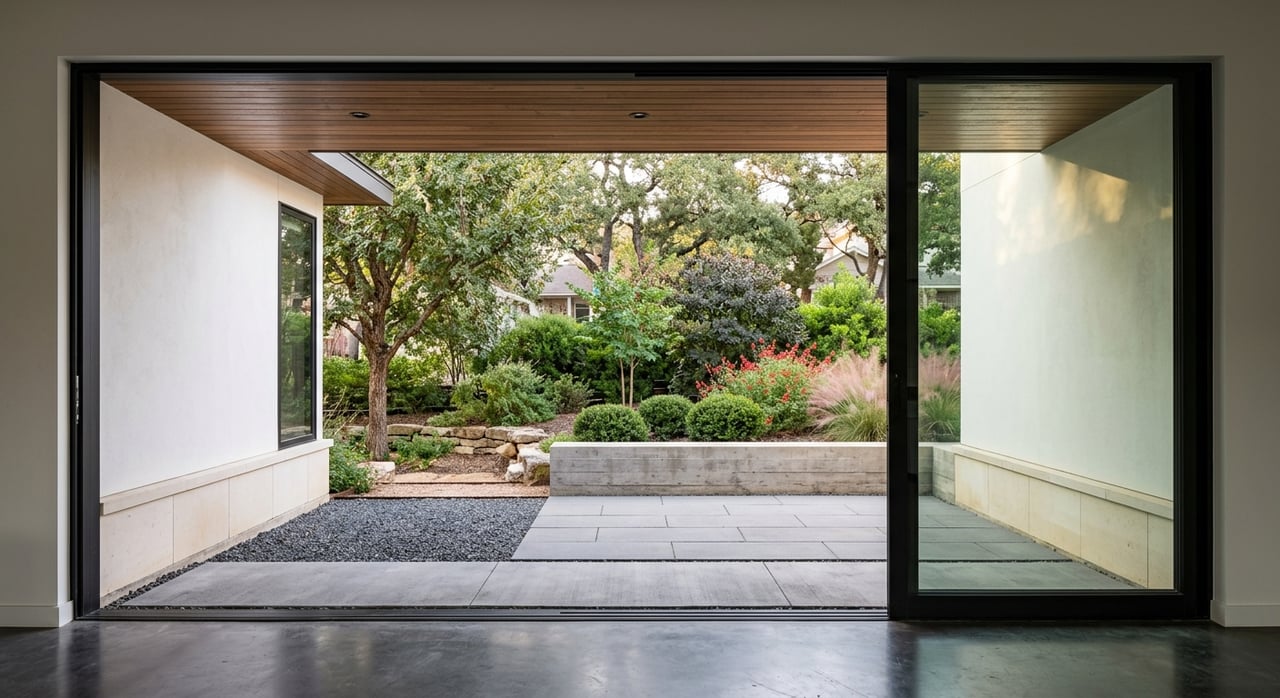
Large openings and abundant daylight are a hallmark of high-end DFW homes. In North Texas, summers run hot and bright, which means careful light control is essential for works on paper, textiles, and certain pigments. Regional climate data for the Fort Worth area confirms the combination of strong sun and seasonal humidity that can stress collections if unmanaged; see the Fort Worth climate profile for context.
Protecting art from Texas light
Manage light with intention
Light is a design asset, but it is also cumulative exposure. Conservation guidance sets target illuminance levels by material: about 50 lux for very light-sensitive works on paper and photographs, roughly 150–200 lux for oil and acrylic paintings, and up to 300 lux for stone or metal. Visible light causes fading over time, not just UV. These baselines come from established conservation practice; review the Canadian Conservation Institute’s painting care guidance for details.
Practical steps at home help you balance display and preservation. Use LED accent lighting that produces near-zero UV, set on dimmable, zoned controls so you can raise levels for viewing and lower them when not in use. For rooms with strong south or west exposures, consider layered shading, UV-filtering glazing on windows, and rotating sensitive works to shadier walls. A thoughtful plan keeps art visible while limiting total light dose over the year.
Temperature and humidity basics
Aim for a stable environment rather than extremes. Museum references recommend mid-60s to mid-70s Fahrenheit and relative humidity around 40–55 percent, with minimal rapid swings. Avoid hanging valuable works over fireplaces or near heat sources, and do not place sensitive pieces on exterior walls that may experience condensation. For mixed collections, whole-house HVAC, summer dehumidification, or winter humidification can smooth seasonal shifts; see environmental guidance summarized in the National Park Service Museum Handbook.
Framing that preserves value
Conservation framing is a smart investment for irreplaceable pieces. Ask your framer for acid-free mats and backing, reversible hinging, and UV-filtering or museum-grade glazing. Acrylic is lighter and safer for large works; glass can be preferable for pastels or powdery media. Always keep an air gap between the glazing and the artwork surface, and request written documentation of all materials for your records and insurance. The New York State Archives’ framing guide outlines best practices you can reference.
Compose rooms for impact
Sightlines and focal points
Treat each room like a composed view. Start where you naturally enter or sit, then place a statement work to anchor that sightline. Align art with major architectural elements, such as a fireplace opening or a dominant window mullion, so the composition reads intentional both in person and in photographs. Leave negative space around key pieces to heighten focus.
Scale and proportion that work
A reliable rule for art above seating or a console is to span about two-thirds to three-quarters of the furniture width. This anchors the piece without overwhelming the room; it is a simple edit that always reads considered. You can reference a practical sizing overview in this artwork scale guide.
For height, center most artwork around eye level, often cited near 57–60 inches to the midpoint. Over a sofa or headboard, keep the bottom edge roughly 6–8 inches above the furniture to connect the composition. For groupings, keep consistent spacing and treat a cluster as a single visual object when centering it over furniture. See additional display tips in this art display overview.
Light that flatters and photographs
Build layered, adjustable lighting
Great listing images rely on layered lighting: ambient for general illumination, task for function, and art lighting for focus. For the art layer, choose adjustable LED track heads or wall washers with high color rendering (CRI 90 or higher) and dimmers. Quality optics help you aim the beam precisely and avoid hot spots, so a photographer can tune levels without overexposing delicate works. For a deeper dive into fixture choice and control, review this summary of LED lighting in museum and gallery settings.
Control reflections and glare
Position fixtures and choose beam angles to minimize reflections on glazed works. Anti-reflective glazing is helpful for high-gloss pieces, and careful aiming reduces glare across the frame. When it is time to shoot, a photographer can further cut reflections by adjusting camera angle and controlling mixed light.
Showability and resale in Westlake
In a luxury market, curated interiors signal quality and care. That helps your listing stand out, photograph cleanly, and feel move-in ready to discerning buyers. Industry guidance from the National Association of Realtors notes that staging influences buyer perception and the marketing process; explore the NAR staging resources when planning your pre-list edits.
A restrained palette and consistent materials tend to photograph best. Edit highly personal items so the focus stays on architecture and a few well-chosen pieces. Keep installation choices reversible where possible, such as track hanging or picture rails, so a future owner can reconfigure without repairs. Clear documentation of any built-in display systems also supports clean disclosures during a sale.
Practical room-by-room plan
Great room
- Identify the main view from entry and from the primary seating. Place a single, large piece or a tight diptych to anchor that axis.
- Use high-CRI, dimmable track heads with narrow-to-medium beams to sculpt the focal work. Keep overall ambient light modest to let the art lighting lead.
- If the room has intense afternoon sun, move sensitive works off direct paths and rely on shades during peak hours.
Dining area
- For seated viewing, lower the center of the artwork slightly so it feels connected to the table plane.
- Favor softer accent light to avoid glare on dinnerware and frames. Aim to create a warm halo around the piece, not a hot center.
- Keep spacing consistent for a trio or grid if you prefer a formal read.
Primary suite
- Choose calmer, tonal works that support rest. Center a single piece over the headboard with the bottom edge about 6–8 inches above it.
- Use minimal accent lighting and rely on ambient layers to maintain a restful atmosphere.
- Avoid exterior walls for sensitive media and keep distance from supply vents that can cause microclimate swings.
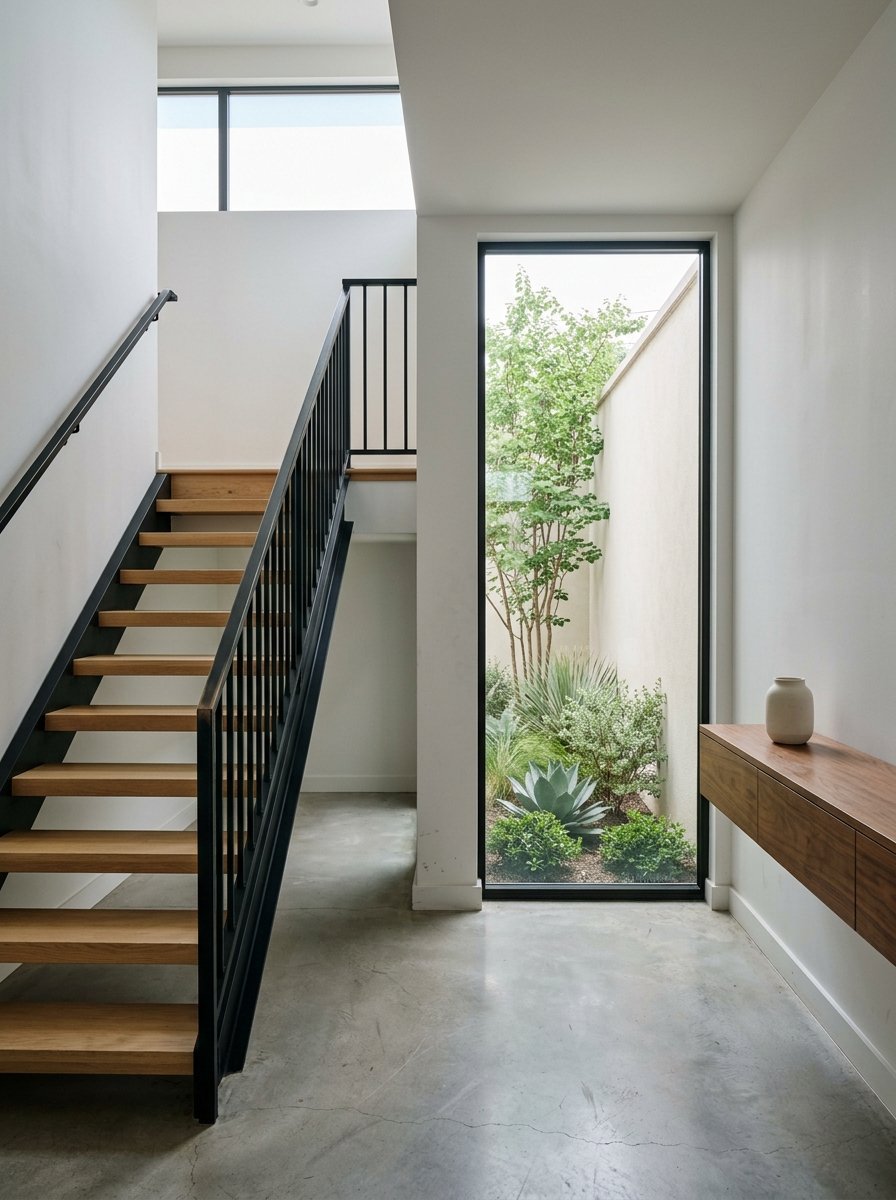
Gallery hall or stair
- Treat a long run like a narrative: start with a bold piece at the far end, then graduate sizes as you approach.
- Keep gaps consistent; tighter spacing feels more gallery-like.
- For glazed works along stairs, target off-axis lighting to reduce mirror-like reflections.
Listing photography tips that honor the art
- Balance color temperature across the set. Turn off competing sources that mix cool and warm light, then let the art lighting lead.
- Use a tripod and bracketed exposures to preserve window detail and avoid blowing highlights. This keeps both architecture and art legible.
- Reduce reflections on framed pieces by fine-tuning camera position and, if appropriate, using a circular polarizer. Here is a practical walkthrough on photographing art behind glass.
Quick collector care checklist
- Ask for conservation framing materials and keep receipts plus a simple condition log with photos.
- Limit direct daylight on sensitive works using shades, appropriate glazing, and timed lighting.
- Maintain stable interior conditions and avoid hanging pieces near fireplaces or heat sources.
Curated art is one of the most effective ways to make a Westlake estate feel both personal and timeless. With the right placement, conservation-minded lighting, and an edited presentation, your spaces will read as gallery-ready in person and online. If you would like a discreet, art-forward plan to prepare your Westlake property for market, connect with Michael Reisor for a private consultation.
FAQs
How should I protect art from strong Texas sun in a Westlake home?
- Favor shaded walls for sensitive works, use LED accent lighting, add layered window treatments or UV-filtering glazing, and rotate delicate pieces to limit total light exposure.
What lighting levels are safe for oil or acrylic paintings at home?
- A common conservation target is roughly 150–200 lux for paintings, using non-UV LEDs on dimmable controls to balance visibility and longevity.
What is the ideal height to hang art above a sofa?
- Keep the bottom edge about 6–8 inches above the sofa, and aim for the artwork width to span around two-thirds to three-quarters of the sofa width for balanced proportion.
Should I stage with my personal collection before listing in Westlake?
- Yes, but edit for broad appeal: keep a few strong, well-lit pieces that support the architecture, neutralize overly personal items, and plan reversible installations so buyers can reconfigure easily.
How do I cut glare when photographing framed art for my listing?
- Adjust the camera off-axis from the artwork, control ambient lighting, rely on your dedicated art lights, and consider a circular polarizer to reduce reflections on glazing.